The engine cover had seen much better days, it had all kinds of scratches, cracks and the bottom mounting flange had completely sheared off.
My search began on ebay and I found this for $60, but that was too rich for me, I decided to try to fix mine up myself.
One thing that I thought was cool on the ebay cover was that the circle with the Honda logo was polished aluminum, I think originally this cover was all painted on this bike.
So, I got some JB weld and went to work patching up all the cracks, re-attaching the bottom front mounting flange, and sanding and shaping the JB weld areas.
So I sanded and then polished the circle area on the cover, after about 1 hour it was looking pretty cool. I could have done better but Im happy with the result.
After polishing i masked and painted the rest of the cover, then after that dried I masked and painted the recessed Honda logo. I found that masking tape works well to remove the excess black paint from the surface of the cover. Lay down tape over it, use something flat to push down the tape, then remove, repeated that about a dozen times and most of the surface paint was gone, and the paint in the recessed HONDA logo stayed behind.
Safe to say I have jumped head first into this project again, Im happy to work on it again and put my time and effort into it.
Today I took the shocks apart and cleaned them up and painted them. I did one at a time, just so I could see a before and after picture side by side, haha. I think it came out pretty nice, hopefully the paint on the coil springs will last.
I used Duplicolor engine enamel - Chevrolet Orange Red DE1607 for the coil and silver
Duplicolor caliper paint for the shock. The Plastic isolator got flat black generic paint for plastic.
Next I will fix and paint / polish the left side cover, and paint the right side cover and the cylinder head. Also I need to paint the wheels since they are currently two different colors, this caliper paint seems to be a great match to the original sliver color.
I found a new original chain guard on ebay and ordered it for $25 shipped, cant wait to get that on the bike. Looks like the original one was broken off.
It sure has been a while, so long in fact that there is a new owner to this bike, it is this little guy...
I finally put in an offer on the bike and bought it from my wife's uncle, but its not for me its for our son. Hes currently only 1.5 years old, but im sure he will love it.
I rolled it out of the garage yesterday and washed it, gave it a kick and much to my surprise it fired up! I will need to clean out the carb and do some fine tuning for sure. Im going to start slowly fixing it up, I guess I have at least a few years before the new owner can ride it.
Its going to need some new tires and tubes, its missing some heat shields and chain guard that were missing when I got it. Also I will need to replace the kill switch and brake lever that suffered some damage when my brother in law crashed it. A few other little things that will need to be taken care of, just glad its mine/my sons now, and I can put some work and a little money into it knowing it will pay off in the future.
He's pretty good with a wrench, in fact he pointed out that dad had the rear shocks mounted upside down...oops!
Well, the bike was gone for a while back to my wife's uncles house, but it has recently found its way back into my garage. It was not running, so a quick carb cleaning and points gap adjustment did the trick. I am considering making an offer on the bike so that I never leave my garage again. haha!
This little 50 is just a blast to ride. I've been riding it every week end and it just kicks ass. Starts up on the 2nd kick every time and rides great. People around the neighborhood always give me funny looks. Im hoping to get out to the desert soon with my F7 and ill take the Z50 out for my wife to goof around with.
My idiot brother in law decided to let his huge friend ride the mini bike and not give him any instructions, and the guy shifted gears while giving full throttle and fell off and did some nice dammage to himself and the bike. I didnt much care about his scrapes and bruises as much as i cared about the bike. haha...
The seat bucket got smashed up pretty good, the tank got a nice new dent, a few rips to the brand new seat cover, bent exhaust pipe, and a few other dings and scrapes.
I had to go through and fix it again which really pist me off. Even after all that the bike still looks pretty darn cool.
I took off the carb and messed with the float screw and seem to have fixed the fuel overflow problem, and also got a new tube for the rear tire and put it on.
The last piece I needed was the 50R sticker and my friend came through and got them made for me.
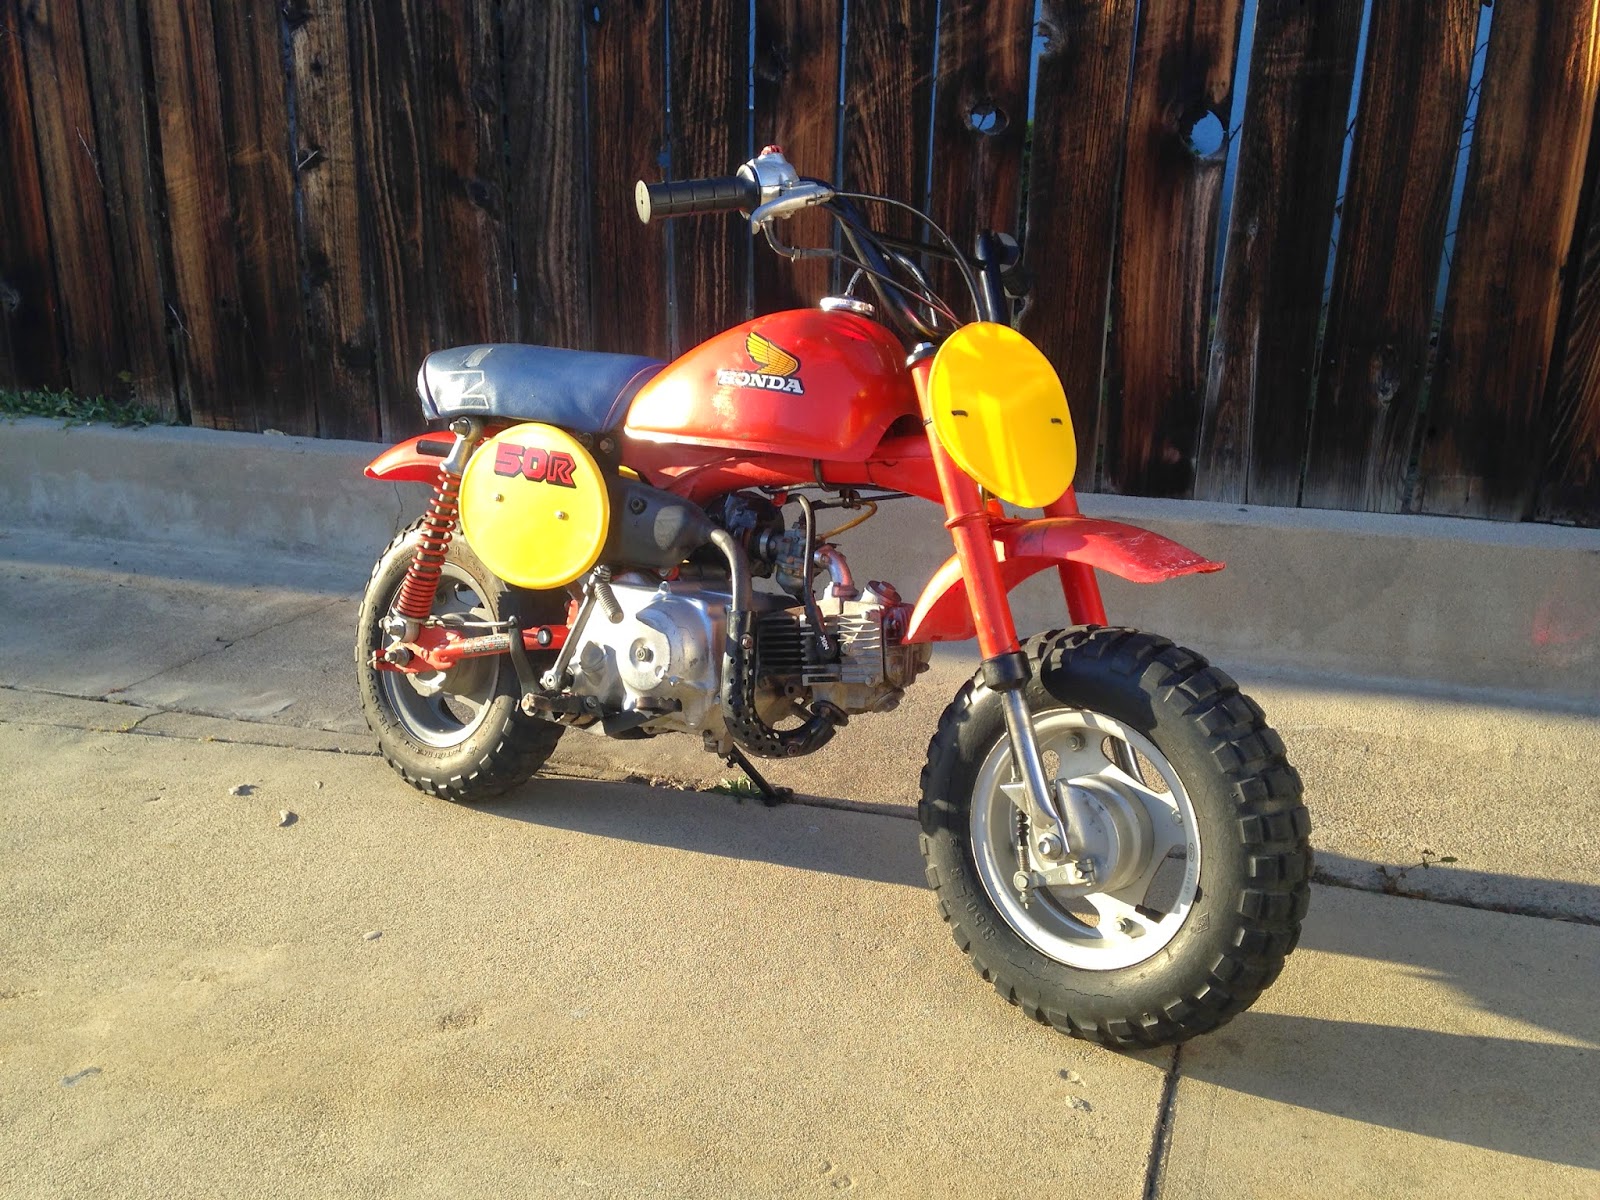
For now, the bike is all done and finished and is looking really nice compared to how it did before.
Over the last few days we have been doing some more work to try to finish up the motorcycle before Christmas.
Yesterday Ryan and I took off all the black metal parts (handlebars, rear brake lever, number plate brackets, foot peg / kick stand bracket) and sanded everything and painted it gloss black.
The plastic number plates I ordered from DC Plastics showed up and went right on the bike, it really gives the bike a whole new look, they are awesome. Its the closest dimension I could find, I think the original plates are actually 1" narrower. I drilled the holes on all off them, installed the front one with a black zip tie, and the side ones with some stainless steel bolts i picked up at the hardware store.
The seat cover also showed up, and I put it on to see how it would look, but I need to find some extra foam to stuff in there because the cover is very loose.
We also painted the exhaust with some high heat paint, and tried to patch the rear tube. The tube had a huge gash where the two wheel halves come together and probably pinched it. While we were at it we painted the rear wheel and the brake hub.
I cleaned up the front and rear sprockets with a brass wire brush, and I soaked the chain in some degreaser, then in some oil and wire brushed it nice and clean.
Another thing I did today was play around with the rear fender. The rear half of the fender was broken off. I took it off and flipped it. I will probably cut and shape the end of it now and see how it looks.
Overall it is looking awesome, but I still need to fix the carb overflowing issue.
If you look closely, you can see the Gatorade bottle catching the overflowing fuel. haha
I looked around and found a nice looking reproduction seat cover on ebay for $30 shipped.
This should make the bike look 100 times better
My wife's uncle (uncle in law?) said he would give me some money to make it look nice, so hopefully I still stay under my $50 budget. I was hoping to have it ready by Christmas, but I dont think the seat cover and a few of the other things I ordered will arrive in time. As long as we can have some fun riding around Christmas day, I think he will be happy.
The fork is in pretty bad shape. Looks like someone smashed the front end into a tree or brick wall. Not only are the fork tubes bent but the actual fork was bent so bad, you had to steer hard right to go straight.
I took the fork off and took it apart to get the fork tubes out. This was a messy job. Unlike most motorcycle forks, there is no fork oil, instead everything inside is covered in thick grease.
Taking the fork apart is pretty upfront. You first remove the rubber seals by prying slightly with a small screwdriver and then twisting them off. Then you look inside (might need to clean some grease off) you will see a snap ring, you will need snap ring pliers to take this off.
Once the snap ring is off, you can slide the fork tube out with everything attached to it. Where the fork tube and the spring come together you will see a small round pin. That pin needs to be punched out and then you can take everything off the fork tubes.
One thing to note before taking the fork tubes and spring apart is the orientation of the notch on the top of the fork (the part that bolts in to the top of the fork). This needs to go back together the same way it came off.
Fork body bent
Fork tube & spring
Bent fork tubes
After taking the tubes and all the internal stuff out of the fork, I put it in a vice and was able to bend it back by hand.
The little fork tubes were no match for the huge press brake at my work. I cheated a little bit and had my buddy - the press brake operator - bend these back into shape. They look perfect.
Straightened fork tubes
December 20, 2012
I got the fork greased up and put back together. Looks much better, pretty damn straight.
To install it back on the bike i cleaned up and greased up the bearing cups enough so the ball bearings would stick, and patiently put all the 21 balls back in the top and bottom of the steering tube. With some help from my youngest brother in law we put it all back together and took it for a test run. This thing is so much fun to ride. It has way more power than one might think.
The fork is now pretty straight, you can steer straight and go straight. :)
We jerry rigged a gatorade bottle to catch the overflow gas pouring out of the carb just to have some fun for a bit riding around. I still need to tear into the carb and mess around with it.
Hopefully I can get it running properly. If so, I will move on to the other things the bike needs.
If it were my bike, I would put money into it, but since its not, I have to be very careful about where to spend money on it. I think my limit is right around $50 total.
Obviously the seat has seen better days. I found a seat cover on ebay for $25
Air filter element is gone - Found one for $8 and already ordered it.
Air cleaner body is broken, I will need to attempt to fix it
Oil change
There is a leak in the rear tube, hopefully I can just patch it.
Fork is bent to hell, I will need to fix the fork body and fork tubes.
Chain guard is missing, I might see about making one at my work.
Side and front number plates. I can buy a set for $25 or I might try making them if i can find the right plastic.
I asked a friend of mine to make me the "50R" side stickers for the best price, FREE.
I have to find a hose to put on the gas cap breather.
The gas tank was empty and had chunks muddy crap in it, so I washed it out with detergent and water.
Also I gave the fuel petcock a good cleaning to make sure it was not clogged.
The inside of the tank was in good shape so I let it dry and put it back on the bike and filled it with some fresh gas.
Spark
I took the spark plug out and grounded it to the engine and turned it over and saw that there was no spark at all.
This made me suspect the points were bad or not properly adjusted. I took the flywheel cover off and turned the flywheel and noticed the points were not even moving, they were actually adjusted too far up and were not contacting the lobe on the flywheel.
I really wanted to remove the flywheel, but didnt have a puller so I did my best to work through the small slots. I rolled a sandpaper joint and flattened it and opened the points with a flathead and sanded the contact points to clean them out, then blew them clean with compressed air.
Then I loosened the phillips scew that holds the points in place and moved them down and just played with the positioning until they would open .014" measured with my feeler gauge. After adjusting the points I did a spark test again, accidentally touched the plug as i turned the engine and it actually shocked me. I got a nice strong blue spark.
Here is a great (3 part) series of videos I found (not by me) on how to replace points and the condenser and how to adjust the points...
Carb
I gave it a kick after adjusting the points but it didnt start, so I moved on to the carb.
I took the carb out and cleaned it with carb cleaner and compressed air. I took it all apart and made sure to clear up all the passage ways.
Valve timing
I did some research on how to set the proper valve timing. This is new to me since my Kawasaki 2 stroke does not have valves. I found a great video on how to do this and I set the timing properly.
It's alive!
After cleaning the carb and adjusting the valves I kicked it over a few times, and it finally started after 5 or 6 kicks.
A cloud of smoke flew out of the exhaust, it was definitely the first time in a LONG time the engine was running. Getting it started is always a great moment.
It was running at a very high RPM since I had messed with the air mixture screws, so I adjusted them to the point where the bike sounded normal.
Put the bike in gear and went for a spin. It jerks really hard when shifting, but it works.
The problem I have is gas is pouring out of the carb overflow. I think I have a float or float valve problem, so I will check that out and hopefully fix it without having to get a carb kit.


.JPG)
.JPG)

.JPG)


.JPG)
.JPG)
.JPG)
.JPG)
.JPG)
.JPG)
.JPG)
.JPG)
.JPG)
.JPG)
.JPG)
.JPG)
.bmp)
.jpg)